Showing posts with label basket. Show all posts

Monday, September 1, 2014

A Fluttery September

 Butterflies in September
Across The Pond Sew Along Project

See our past projects!

I know that I am not the only person who can't believe that it is our summer has just flown by!  Even though the nights are getting cooler, I still see many butterflies flitting about and floating around in my backyard. They really love  my Rose of Sharon blossoms.


Rose of Sharon blossoms    to see more,  click here
Wouldn't it be fun to have butterflies in our homes... all year round?
Well, we  can!   Thanks to the creative blogger and pattern designer , Michelle,  of Michelle Patterns.  She shows how to make beautiful and delicate fabric origami butterflies  on her blog.
 { The actual folding directions ( with great pictures)  are found at Origami Instructions.} 

The moment I saw her gorgeous fabric butterflies, I knew I wanted to try making one.  
I followed Michelle's directions, and practiced on paper first.  It was easy with the pictures on the Origami Instructions page. ( Make sure you are starting from a rectangle shape, as  in Michelle directions.)

These are my first butterflies-
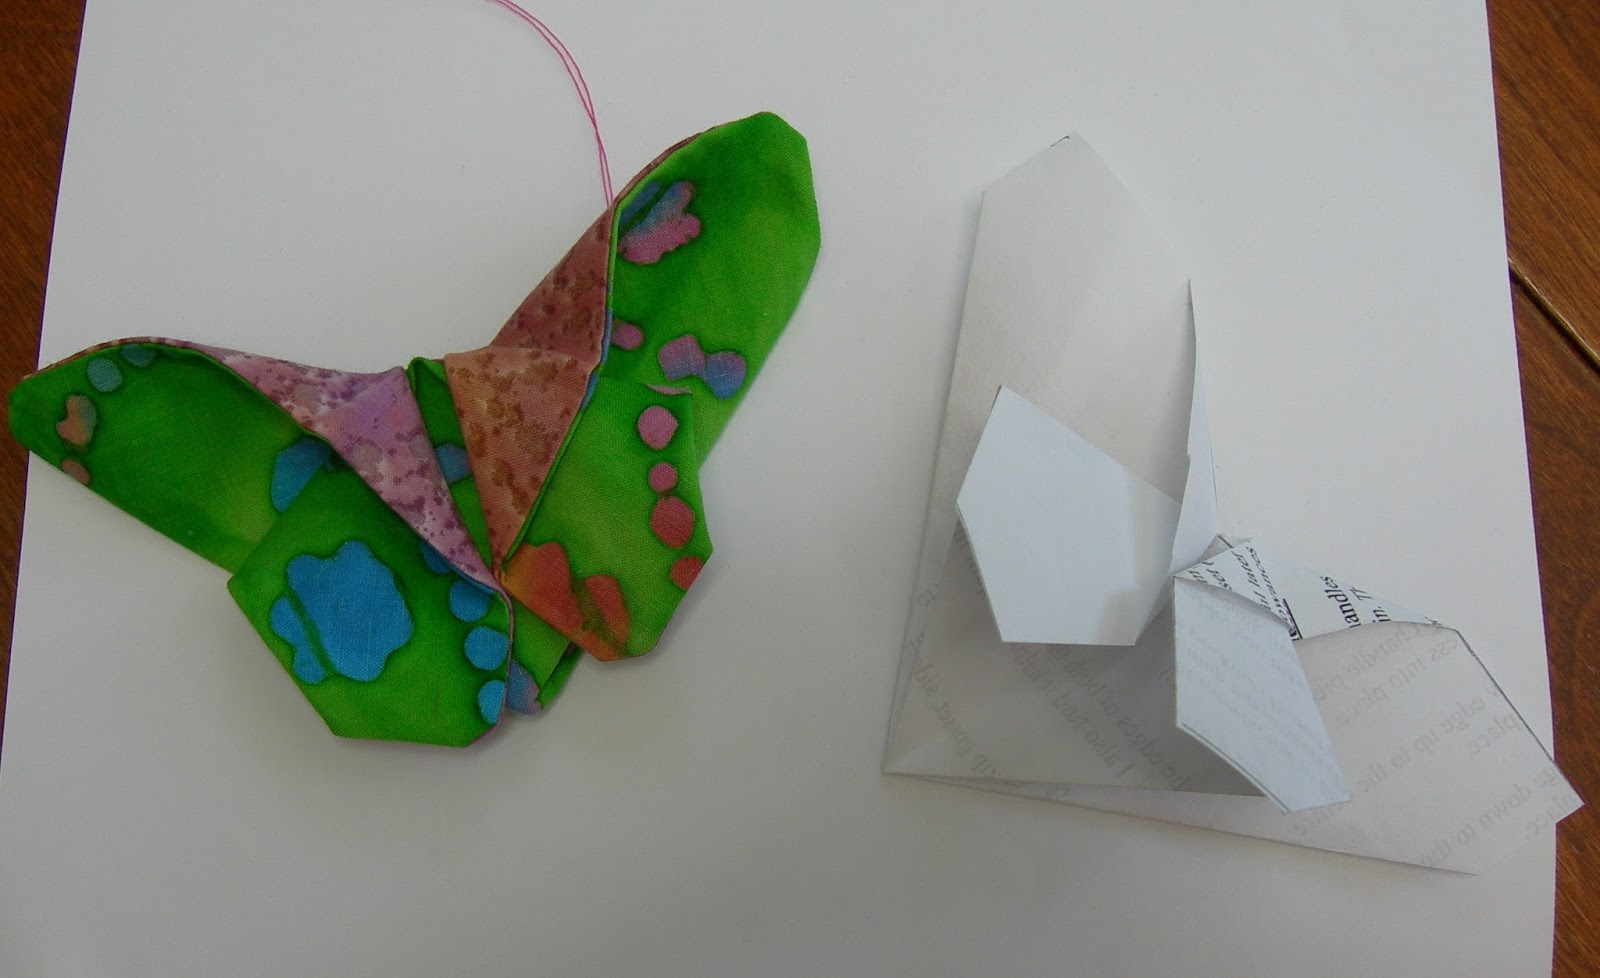

Fabric origami butterfly  and paper origami butterfly


They are so delicate and fun !   I did not flatten mine...

I decided to gather up some old scraps of fabric to make another butterfly...


This butterfly looked like it wanted to land on something....

So I made up  a little linen mini basket for it to alight upon...
A mini linen basket for the butterfly 


And then I thought the green batik butterfly might like to sit on a book mark, for my quilting and sewing books...


I made up a 12 inch  x 1 1/2 inch  bookmark


Now I  you know you will want to see more delightful and creative butterfly ideas ...so simply "flit"  on over to               The Patchsmith blog ,  and Amy Made That! blogs.  
They are adding their  own creative and unique touches to this delightful little origami fabric butterfly.


This is a little beauty was made by The Patchsmith


 And if you make any butterflies of your own,  you can put them in our Across The Pond Sew Along Flickr Group  HERE.  We love seeing what you make!

I'm off to my sewing room!

PS   If anyone is interested , I will be making up a tutorial for this  little mini basket.  It's very handy around my sewing machine and cutting area.

Happiness is a butterfly, which when pursued, is always just beyond your grasp, but which, if you will sit down quietly, may alight upon you-                                                                                   Nathaniel Hawthorne

Linked up at:  Sew Darn Crafty @ Sew Many Ways


Sunday, April 6, 2014

An Easter Basket for April

A Paper Pieced Easter Basket for April

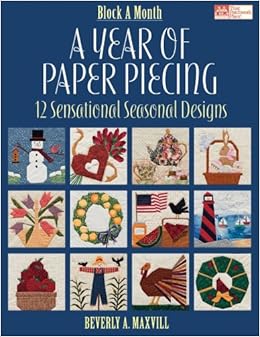
I'm excited to share April's block, from the book ,"  A Year of Paper Piecing  "  , by Beverly A. Maxvill  !  You might remember that the last seasonal block from this book was my snowman...


January's Snowman


A Year of Paper Piecing   book available at Amazon.com

This holiday block works out perfectly this year, as Easter happens to fall in April.

Easter Basket  April's paper pieced block   Design by Beverly A. Maxvill


Fabrics used:   A Fat Quarter Bundle of Mary's Blenders   by Windham -                                                                            -eggs
                           Quilters Linen  Rafia   by Kaufman  - bunny fur
                       Essential Dots   Sage  by Moda     -  border and bow on handle
                     Farmer's Market Large Basket Weave Brown   by RJR  - basket
                       Mixmasters Dot-to-Dot   Ice Blue  by Kaufman    -bunny bow

I decided to try the blender fabrics in the bundle, called Mary's Blenders.  I ADORE THESE colors!  They are subtle and yet rich.  I used them for the decorated eggs.  And I was very happy to have stashed away the Basket Weave fabric ... for "someday".  


The eggs were fun to make with their tiny triangles!


The bow on the basket looked a little "plain", so I decided to add a yoyo 
to it to liven it up!

I'm very happy with my version of Easter Basket, and will enjoy bringing it out every year to celebrate Easter.

Easter Basket


                                       I'm off to my sewing room!


Linking up at:    Can I Get a Whoop Whoop @  Confessions of a Fabric Addict   and
                    Friday Paper Piecing Party      @ Quiet Play  and
                        Sew Cute Tuesday  @ Blossom Heart Quilts  and
                   Sew Darn Crafty  @  Sew Many Ways

Monday, September 10, 2012

Apples in a Basket Block


A Year of  Paper Piecing   Book

September is a beautiful time of year in southeast Pennsylvania.  The days are warm in the afternoon , with lower humidity, and the evenings cool down quickly.  Time for baking apples and cooking soup.
Time to make a basket of apples wall hanging, too!

I found a really great book, on Amazon.com, called  A Year of Paper Piecing, by Beverly A. Maxvill.    
It has 12 Seasonal designs for 12 inch blocks, with some great instructions to do paper piecing and a little  quilting.   I was lucky enough to find it sold as a used book, and I don't think it was ever used!

I picked up some fall toned fabrics while  on a fabric store shopping trip with my friend, Maxine.  I found some pretty reds and browns and greens in the Marcus Fabric lines.  After I had the material cut, I  got excited and was  amazed at how much I loved those colors!  I had never paid much attention to these more traditional fabric lines before.  Maxine and I  were very close to squealing with delight, because we found some really pretty fabrics, and they were ALL 20% off ! Winner, Winner, Chicken Dinner!!   
My new fabric
I am pretty new at paper piecing, but really love doing it.

I got started , and after choosing which reds to use for which apples, it went quickly. (  I should've made a diagram with the materials designated to each apple , because I got myself confused with the same apple being in  more than one row of the pattern. )


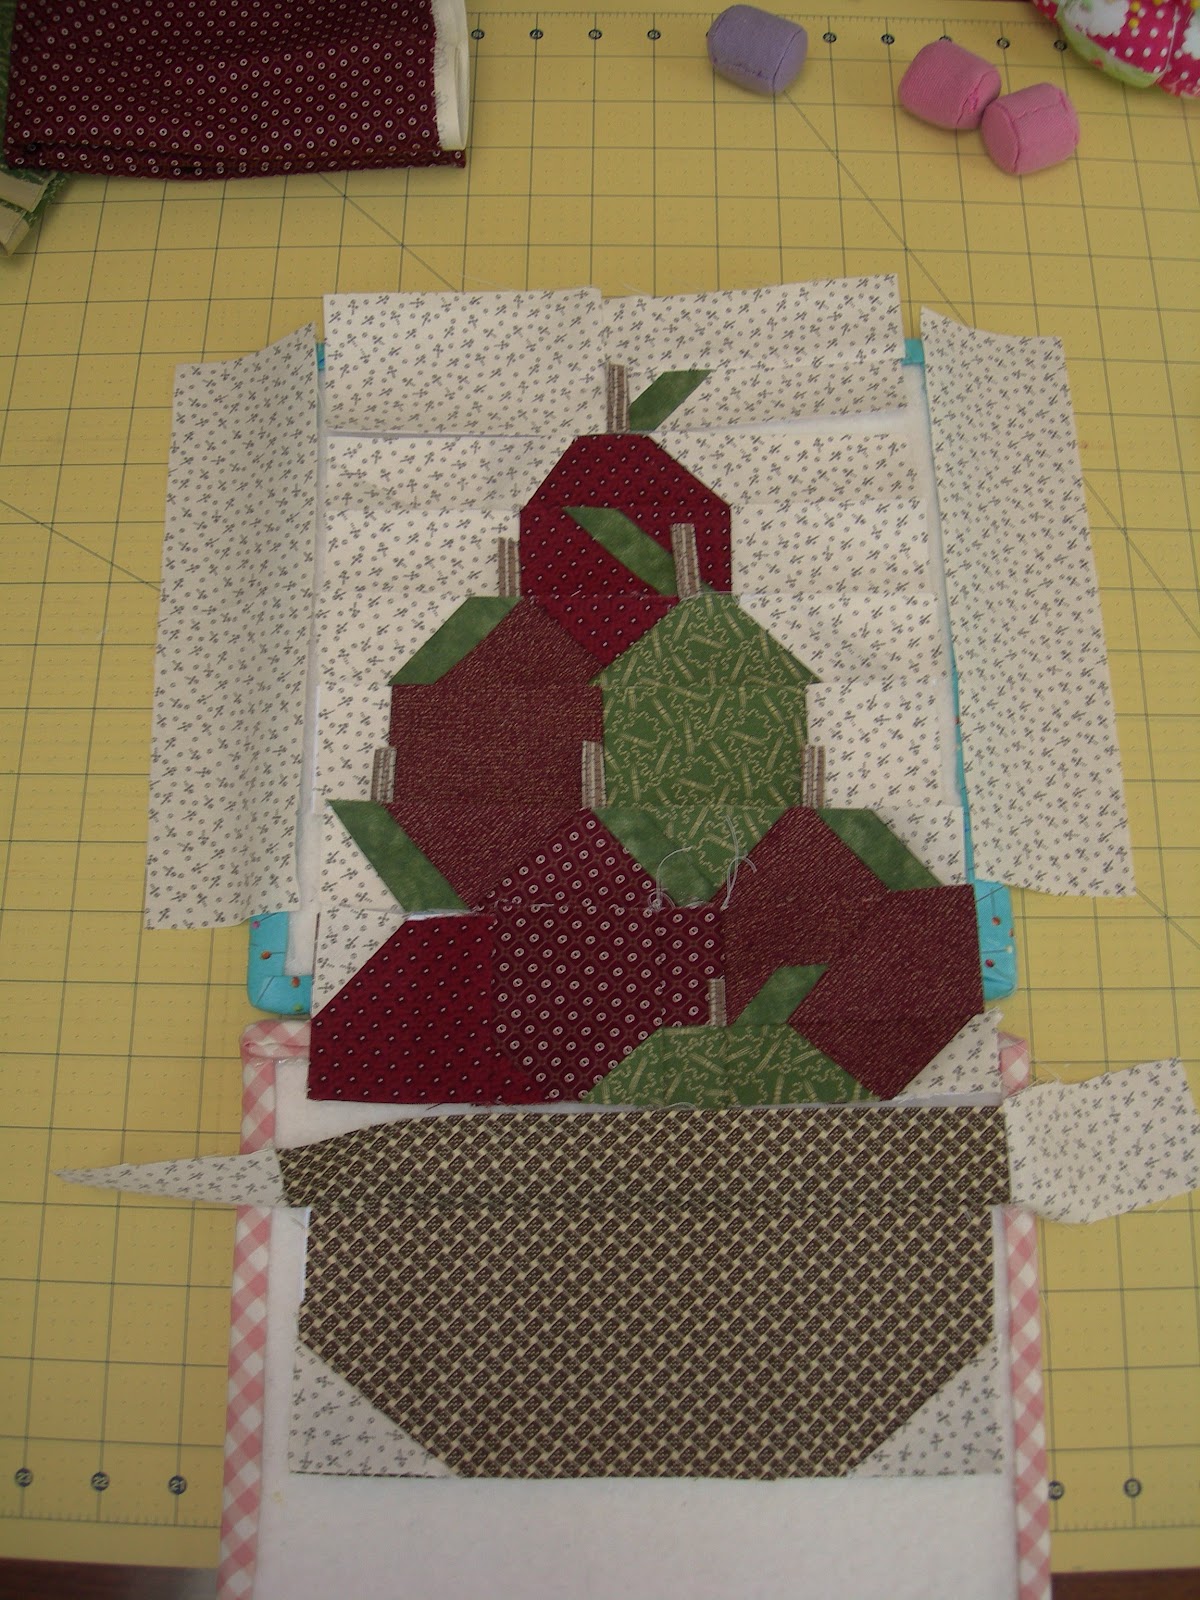
 This one multi-pieced section took me some time to make sure that I put the 4 pieces together in the right order.   Paper piecing patterns can confuse me, because they are printed backwards.    So after I figured out how the four sections joined together, I took a picture of them in the right order, and made a diagram for my notes.  


This is how the sections A thru J  look before sewing them all together.  Elongated, to allow for the 1/4" seam allowances.  My husband said they look like houses piled on top of each other!.

Luckily,  I took my time and looked this over. Have you experienced paper piecers  seen my error already?   The directions told me to piece 2 little sections of background fabric to the row of the basket rim.  That's what I thought I did...
Then, I went back to her directions in the book , and read them properly, to learn that I needed to rip out those  two  background rectangles and the whole  top edge of the basket, and attach the background pieces  before I pieced the basket top and bottom pieces together.   And I had to add some background rectangles to the bottom basket piece, too.

That is when I decided to name my little seam ripper, Cruella DeRipper.   

I also remembered a very simple but handy tip that I am beginning to use a lot  in paper piecing.... 
For tricky sections.... baste  it first. 
Then  open it up, see if it is lined up properly,  and then resew it properly.  It is easier to rip out basting stitches,  than the tiny size 2 stitches I use for paper piecing!! (Plus, I don't need my ultra- magnifying reading glasses to rip out the basted stitches!)

Since basting size stitches are more similar to hand piecing,  I found I  Cruella can rip out a  specific ,small area that is not exactly matching, and I can maneuver it around/play with it, to get it to meet-up  better, while leaving the other areas intact that don't need moved. Give and Take....


                   Here is the   block, with the side strips being added. 
 I had 2 little squares to sew together on the top and bottom strips. I remembered  to make sure it lined up properly before I sewed them on.  I have learned to "piece them" at the right spot as  I sew them on... by  testing them pinned- on before I sew them. (Cruella pouts when I  actually remember to do this...)

Before I knew it, it was time to add the batting and backing to make my quilt sandwich.
I used some Warm and Natural for the batting, and some natural colored linen blend from my stash for the back.
The author suggests sewing the front and back together, right sides together, and then turning it inside out,  rather than binding the edges.  [ In her book, she puts velcro on the four back corners, and attaches it onto a quilted background with velcro , changing the block every month.]  I want to hang my  quilt block on a dowel rod, under a shelf in my kitchen.


So I  made  two corner pockets on the back, to hang this little block by.  They are  attached on the back in each top corner ,and  basted in place  before sewing the front and back together, right sides together.   This clever  method came from A Girl In Paradise ,  Ann.   (This tutorial ,  Hang your quilt using corner pockets  , explains how to make these pockets.)   The corner pockets works well for me. I just hang a tiny dowel rod under my shelf, attached to two eye hooks. Now,  I can keep  the dowel rod in place for all 12 blocks, and just take each block off of the rod by sliding  it out of the  pockets.
Corner pockets were machine sewed in.... and you can adjust to what size you like.  I made my squares 7 1/2 inches .                                                                

Next,  I wanted to try some very minimal hand quilting around the ouline of the apples and basket, and the outside edges .   I have never hand quilted before, but so admire all of the work that I see from you amazing quilters out there!  This includes quilts that my sister,  Amy  ( AmyMadeThat! ), has made for me.  

So I got out a needle and some  thread, and quilted a little  on my  apple block while watching tv last night. It was very relaxing. (It helped to use my strong glasses and a light aimed right on my  work.  )  My kitty, Whiskers, tried to help me with my thread management .   What would I do without her help?!


My stitches are not perfect, but I think I am pleased with my first hand quilting stitches results.  I love this pattern, because the little stems on the apples are not  fully attached, and they stand up a little.  

                                              
                                                       Apple stems stand up 


                                          Minimal quilting


                                           September block -  Apple Basket  


                                       Here it is in place under my shelf. 
September is ready for me to enjoy.
I can hardly wait for October's pattern.

Let me know if you get the book and want to sew along with me.  

I'm off to my sewing room!