Tuesday, October 30, 2012

After The Superstorm

After the Big Storm 2012

I am busy checking out things , inside and outside of my house, after the big SuperStorm that hit us yesterday and last night.
We are so lucky, because we have had no damage and we did not lose our power during the storm.   

I spent a lot of time preparing for the arrival of the Frankenstorm.  
I even listened to my mother's advice, and poured water into buckets and containers , and bowls, in all of the bathrooms.  (Water to use for " minimal toilet flushing" if power went out for a loooooong time, and we lost our water source.   


One water stash - for personal use in the bathrooms
As the evening progressed, and the winds kept getting stronger, (they really did roar like a freight train , as we live up on a ridge and get a lot of wind in normal times) , and more pieces from trees began blowing up against our windows and roof, I began to repeat ,in my head,  other advice that my mother had given me for the last few days.....

"Sleep far  away from areas of the house where you have trees that could crash through the house...."

So I got up from watching The Weather Channel, and  actually moved some of my  'valuables '  away from  any windows and walls that could be affected if a tree was blown over.
First up.....   my Viking Topaz sewing machine, of course.

This faces the back yard, where LOTS of  TALL TREES are.  They SWAY and SWAY with the wind!
And  I can see tall trees swaying out of  every skylight !
Then I moved my Ott floor lamp away from that window.   (I really got a good deal on that lamp from JoAnn Fabric!)
My Ott floor lamp is squeezed into our little study.  (Some of the squeezing MIGHT be due to piles of fabric. laying around..... maybe.......
Soon, my Viking Topaz and little Baby Lock were safe on my desk in the study. There are no trees on this side of the house!   (But , it is too small for my husband and I to sleep in here...   and that is not just because there is  a lot fabric in here.  Honest.)

My  Topaz and Baby Lock  are safely  stashed in my study.... no trees on this side of the house!

This morning,  after  moving my sewing machines back into their little spots,   I have been tending to our bird feeders .  One of them got pushed down by  the wind and  the water soaked ground couldn't keep it upright.   I measured over 5.4 inches of rain in my rain gauge on the deck.  I think there was more rain, but many times the wind was blowing rain sideways and it didn't get measured in my gauge.    We have a minor leak in the basement, from the blowing winds of the Nor'Easter,  and lots of tree branches and twigs and limbs in our yard.  But that is all minor.  

We are lucky and thankful to have made it through the storm.  
(I'll be praying for all of the folks who have real problems and losses....)

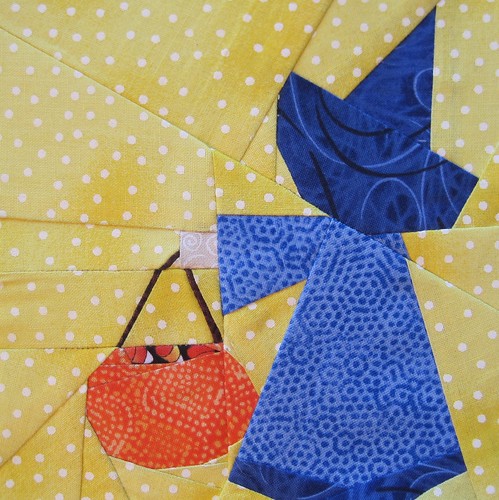
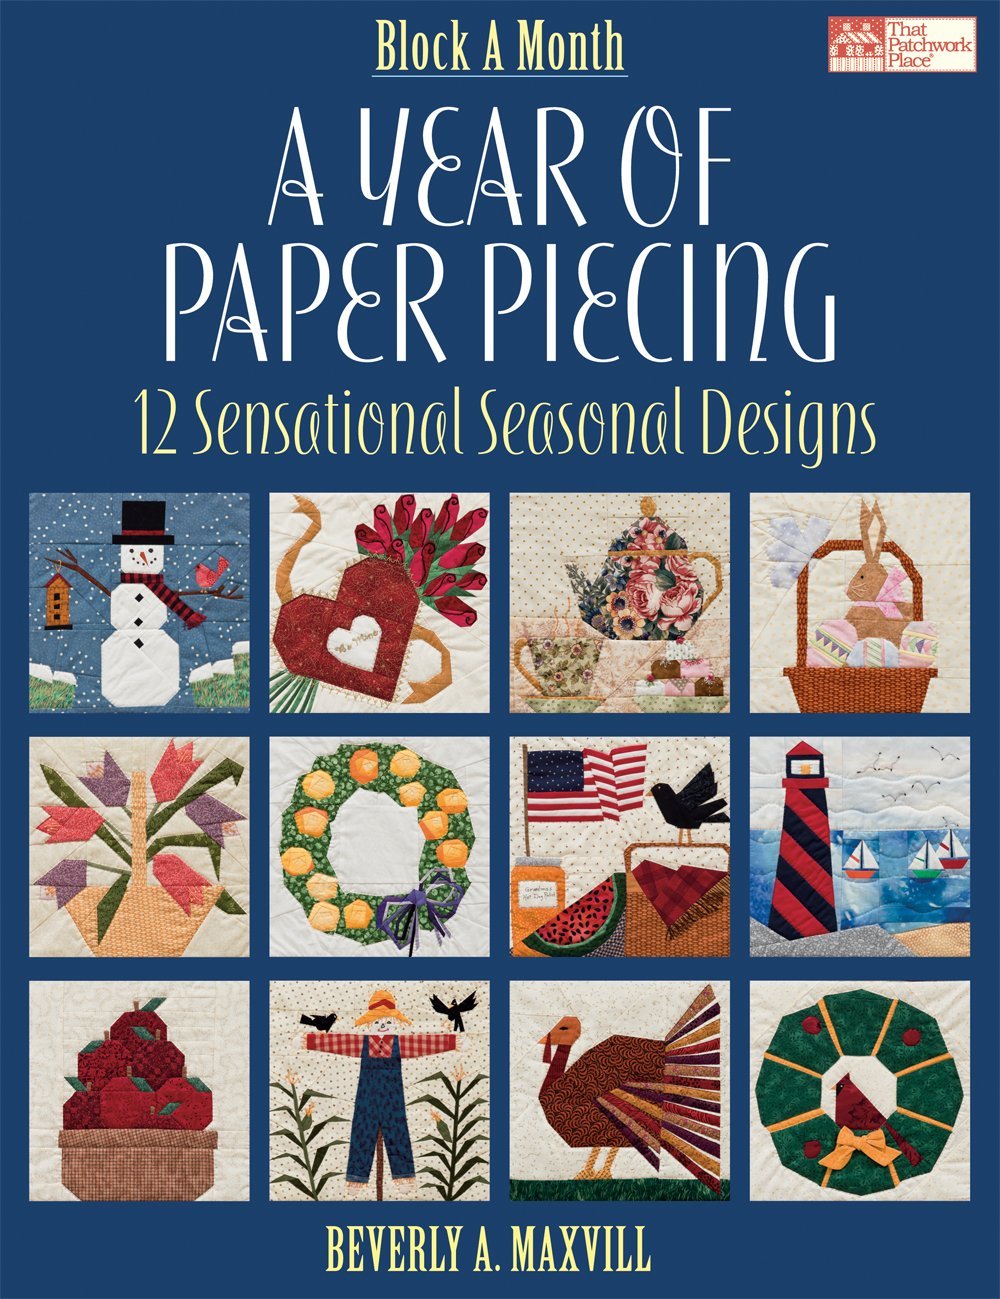
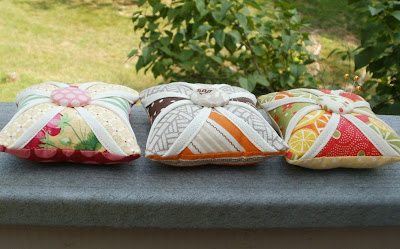
Can't wait to get sewing again.  I have several projects lined up.

Take care!

I'm off to my sewing room!


Friday, October 26, 2012

Kitchen Towels

Making Kitchen Towels With Ties

I have a dear friend, Rosa, who cooks most of her meals.  She spends a lot of time in her kitchen.  She cooks the most delicious Italian foods, and luckily for me, she invites me to eat  when I go to visit her!

One day, she asked me to shorten up the ties on her aprons... on the section that goes over her head.   That was an easy fix.... I just sewed the strap together, shortening the top loop,  so that it just fit over my head.

She also asked me if I could make any towels that would tie to the door handle on her refrigerator.   

I looked online and found some good tutorials.  Luckily, I knew just where to look for a style that ties to the door handle of the stove.   At my sister's blog , Amy,  of Amy Made That! ,  she showed us how she made her beautiful Stay Put Kitchen Towels  . 
Amy's Stay Put Kitchen Towel
 I like this style for the oven door handle, but wanted to make  ties that would be very durable , so that the  whole towel would stand up  well with lots of washing.
  
After a lot of thinking, I decided to try making fabric ties, similar to the ties I make in the Bow Tucks Tote purses .   
Here is a short description of how to make  skinny fabric ties:

Simply,  cut fabric into 1 1/2  inches by WOF
 Press wrong sides together, lengthwise, so there is a center press line.  Unfold.
Fold in raw side edges  (the short sides) about 1/4 inch, and press.
Fold up raw edge(lower  half) to the center press line, press.
Fold  the other raw edge (upper half) down to the center press line , press.  (Both raw edges meet in the center now.)
Fold these 2 folded -edges together ( on top of each other) , press well and pin.  Sew close to this folded edge.
It is now 1/4 of it's original width, after folding.  And there are no raw edges!

I used the bow ties (in place of the ribbon) to tie the towel to the oven door handle


I used material that had black and white colors, to go in Rosa's kitchen.
 I looked aound further for more ideas on making a towel that would tie to a refrigerator door.  I found a great tutorial at Trey and Lucy.blogspot.com , by  Tanya, that I adapted a little to  meet my needs.

Tanya's:   from Trey and Lucy .blogspot.com   tie-on dish towels
I wanted fabric ties, but decided to make them narrower than Tanya's.  (She uses 9 inches wide.)  I made them like a bow tie, but began with a width of 4 inches of fabric, so that the final tie would be 1 inch wide.
I gathered my towel with a basting stitch, through the middle of the towel  
Then I made my fabric tie...   I stitched a top stitch all around the edges.  It is 1 inch wide.   I pinned the the tie on top of the gathered area. 


Pinned and ready to sew

I used the zig-zag stich, around each edge, and then through the center, for maximum strength
Zig-Zagging the fabric tie onto the gathered towel is the last step!

Tied onto my refrigerator door


It "works" on the oven door, too!

But I like it better on the refrigerator door handle!

 I'll see how Rosa likes these styles of tied kitchen towels, and  then make some more for her.  
Meanwhile, I will look around for some thicker towels, since this seems to work!  
This is an ideal  gift to make for bridal shower and wedding gifts!

Stay  safe and dry during the 'Frankenstorm ,'  friends!


I'm off to my sewing room!


Monday, October 22, 2012

Sunflower Purse


 Sunflower Bow Tucks Purse

This past week I had a fun project to work on. 
My dear friend, Mary, asked me to make a purse for her sweet daughter-in-law.  And Mary requested that I use sunflower fabrics as the main featured fabric. 

I love making things for Mary, because she often says, "You make it like you would make it for yourself. I trust you."  ( Mary is herself extremely gifted as a florist.  You should see her beautiful weddings!)

So I looked around and bought my fabrics that featured sunflowers.  
Harvest Abundance  by Wilmington Prints ; Gold-  Quilter's Linen Print -Sunflower  by Robert Kaufman
I like to use  this  Bow Tucks pattern because I get to pick out at least  3 different fabrics to coordinate , like  a beautiful "mini quilt" .  It is a tote AND a purse, that can change its looks by adding or taking away the  bowed ties at the sides. 
The Bow Tucks Tote Pattern
It is called the Bow Tucks Tote ,  by Penny Sturges.  You can see all of her patterns for bags and purses at   www.QuiltsIllustrated.com.  

This is the pattern of the  very first purse that I ever sewed!  


Inside- I have pockets on both sides.  Lots of pockets with this pattern!

This side has a zippered pocket, too.


I embroidered a K on the outer front pocket


This tote bag/purse will hold a lot of things!   
By adding some  extra length to the handles (I made these 26 inches),  and  not putting on  the side ties, it gives the bag a more modern look.

(My sister, Amy ,of AmyMadeThat!, and I  affectionately call them, "Bow Tox" purses !  I guess that's a joke only a sewer would appreciate! lol  )

Functional AND fun !
I can't wait to see if she enjoys using her new sunflower tote bag!

I'm off to my sewing room!


Wednesday, October 17, 2012

Trick or Treat Sue

A real "treat"  to make a " Trick or Treat Sue " block!

This week, I ran across the sweetest pattern to paper piece.  It is a Sunbonnet Sue  pattern designed by the talented Jennifer Ofenstein of  Sewhooked.com ,  for the blog hop ,  Something Wicked This Way Comes.    

Jennifer created a Sunbonnet Sue , for Oct. 16, 2012 on the blog hop,   and she is trick or treating!


Block made by Jennifer, of www.Sewhooked.com  
 I pulled out ( from my organized stash closet ) dug  out (from under some summer fabrics )  the Halloween fabrics on my   kitchen  work table  , and made my own little Sue.

My  Trick or Treat Sue      a 10 inch block

 After I posted little Sue  on my Flickr page, and the Flickr page for Sewhooked projects,   I noticed she looked a little sad .  Could it be that  she was  still an "orphan" block.  :(
So I went back onto the WhimsandFancies.com  blog to look at  all of the other Halloween patterns.  I saw just what I was looking for ... on Oct. 11.  Kimi,  of Eat.geek.sew.com, designed some wickedly delicious candy patterns!   A  tootsie roll,  smarties, lollipop, and candy corn!  Bingo!   I had my idea!
Kimi's Candy patterns    www.eat.geek.sew.com
I found the right colors for making some candy corn.  I love the yellow polka dots!  They make me happy.  ( Does anyone else like polka dots this much??)
My candy corn block  - a 5 inch block. I just added more background white sashes to make it 10 inches

Notice inside her pumpkin pail,  she has candy corn!    (I saw this little touch in Jennifer's block,  and couldn't resist putting  in candy corn fabric in mine .)


I decided to make a little 10 inch pillow with my 2 blocks.   And since I used the white background, I wanted to Halloween-it up  some with a  ruffle.....  black , with orange polka dots, of course!
I cut 3 inch x WOF strips , ironed them in half lengthwise, and baste stitched the raw edges .  I was glad when I had them gathered... this is my least favorite part of making ruffles.  (I am saving for a ruffle foot on my Topaz.)


Here is little Sue,  with her little Sweet tooth.
   
The back side of Sue's pillow

(Don't tell anyone... but I have a big sweet tooth, too!)


I'm off to my sewing room!


Sunday, October 14, 2012

October's Block


 October Block -  Mr. Scarecrow

I guess I have been busy this month, because I realized that Friday's date was Oct. 12 already! 
And I hadn't even started my October  Block A Month-  A Year of Paper Piecing  block yet!

I got my book at Amazon.com (used, for a great price!)
October's block is a scarecrow , with crows, and some corn stalks.  

I really had fun making the different paper pieced sections.   It was fun to see the hat come alive, and to make the shirt, complete with a little collar.


His little shirt even has a collar.
The corn stalks had a lot of pieces....   53 pieces on each side!


The crows came alive after adding the hand embroidery stitches.


Here is Mr. Scarecrow

I hand stitched some embroidery touches:    corn hairs,   straw on the scarecrow's feet and arms,  crows' eyes and feet,  a face on Mr. Scarecrow,  and buttons on his shirt.  Then I  made my quilt sandwich with Warm and Natural batting, and a neutral fabric for backing.   I quilted minimally by simply machine stitching around the outside of the crows and scarecrow.    

Here he is , hanging up in my kitchen, under the green shelf/cupboard.

On my kitchen wall.


In case you missed what I made in September, here is a picture of September's  Apple Basket.

Apple Basket     and   Mr.  Scarecrow

If you decide to buy the book and make some blocks, send me your pictures and I will post them on my blog!

I  also wanted to invite you to check out  some talented folks and their projects , at the Friday post on Confessions of a Fabric Addict 's    blog.  Sarah has a linky day on Fridays, where people can show what they have been working on.  It is called  


On Fridays  , you can see who linked up to show their projects

I like to look at all of the projects and find new blogs to follow there, too!


Have a good week ahead!


I'm off to my sewing room!


Tuesday, October 9, 2012

Lucky me

No time for boredom here

Ho , hum... I'm just sitting here at the computer, minding my own business...reading blogs and my emails....
Being a good girl and not succumbing to my urges to make more mug rugs  incessantly through the day and night....

And then I read my sister's  post on her  Amy Made That! blog. 
It's all downhill from here, folks.  Now I have to add another  sewing addiction to my list....    Cathedral Window Pincushions.  :(       (but inside I am feeling totally  :) )


Amy showed us her  line-up of  the many different little pincushions that she made using the Cathedral Window pattern. To me, they look like  delectable  little tarts sitting all in a row ,   after coming out of the oven....


Amy Made That! 's  3 little tarts  pincushions all lined up
Amy Made That! 's  Blueberry Tart    Turquoise Pincushion-  irresistible! 
So, I went online to find some tutorials and learn  more about cathedral windows.  I ended up studying  these two great tutorials:

  • Cathedral Window Pincushion  at Moda Bake Shop.com, by Kim  of My Go-Go Life blogspot.com.   I used this tutorial mainly.
  • Cathedral Window Pincushion Tutorial by Susanne Klemm  on Riley Blake Designs/Cutting Corners College.com   I didn't actually use this technique this time, of   folding the white block twice .... but it helped me understand the way to make the windows. I will try this method (of turning it inside out after you fold and sew the center) next time I make a pincushion.   (See ,my addiction is flaring up again--  I left something for me to try the  NEXT time I sew this pincushion... planning  with anticipation for the next one, before I finish the current project !)
After reading these tutorials, I gathered my materials and was ready to go.  I found  some cute strawberry fabric, and some reds and greens to coordinate with it.
This is a picture  of my first Cathedral Window Pincushion.   I made some mistakes ,but I learned from them.  

My first Cathedral Window pincushion ...   It has some "issues"
  • I learned that the fabric that "peeks through" the windows has to cover the whole white square, so that it reaches out to the far corners.   (I had to add some fabric patches to make the berry fabric reach to the corners.)
  •  I learned that the white fabric has to be folded over AT LEAST an inch (like a hem)  or  the whole square double -folded  so that only hemmed fabric  shows  -with the curved parts   (Deep , wide hems allow you to make the curve smooth and uniform in shape with the other curves.)
  •  I learned that stuffing with scraps of Pellon FF987 is not soft enough for filling a pincushion.  I need  to use fiberfill, and  I need to fill it until it is plump!
Luckily, when I need  expert advice, I can just call or email my sewing expert, Amy!  She gives me lots of good tips and an endless source of projects to try!

Yesterday, I made my second pincushion.  I took my time and re-read the instructions.   Luckily, they made more sense this time. I made sure that  I folded  the white fabric exactly, making wide hems,  and actually made the pincushion  a little smaller.  I liked Amy's smaller size .  I used scraps of my Moda Dogwood Trail for the fabric.  I love the pink and greens in this line.

My second pincushion!  This has much more pizzazz!

I made sure it was plump!
Even Whiskers made sure that it was plump enough!

I was finally pleased with my first  little Cathedral Windows project.  
You can bet it won't be my last!


I'm off to my sewing room!


Saturday, October 6, 2012

Repairing a bag

Help for a torn bag

Months ago,  I decided to make a  big duffle bag for my dear friend's daughter.  She is a huge Philadelphia Flyers fan, and her mom suggested a bag with the Flyers fabric.
It is so much easier to make something  when you know what a person likes for colors and theme!  Right?
Except in this case, I couldn't find  ANY Flyers fabrics anywhere.  I looked for a long time.

Then one day I shopped  in our local Walmart.   I passed the men's sport's apparel department, and   a pair of orange and black men's jammies  jumped out at me   appeared!  'Screeeeech  !!!! '  went the cart's  wheels as I applied my breaks !

The idea hit me right there- Buy the Flyer jammie pants, cut them up CAREFULLY, and fussy cut pieces for use in  the duffle bag!!!      
I used a pattern  by  Fig Tree & Co.  called My Paris Traveler's Bag.


This pattern makes a big duffle bag, with a zipper top.

The jersey fabric in the pajama bottoms was easier to manage and cut than I had imagined it would be.  I cut 4 long strips for the inside of the handles.  I figured I'd use black for the outside.  I used rectangles of  the Flyers fabric for two outside pockets, where there was a lot of space for  the design to show through.  I got bright orange fabric at Joann Fabric, and used that for the gusset.  Lastly,  I used white for the inside lining. 

My friend's daughter really liked her Flyers Traveler's Bag .  She has been using it a lot.
However, currently,   it has one little problem.  One of their little dogs managed to OPEN the zipper and cause some minor damage!  
The bag had  one handle pulling off of the side, and the pocket was loosened.  The zipper was able to be pulled all the way to one end, and come apart. :(    There was some worn-out fabric at that end of the zipper.  (I think the little poochie pulled and tugged and scratched at that end for awhile.  He was trying to get her retainer, in a bag, in it's case, INSIDE the Flyers bag!  He has a good nose!!  )  Luckily, there were no tears in it!


Sewing a patch over the worn area at the end of the zipper
 I reinforced the handle and re-attached the pocket, and added the patch at the end of the zipper.
Luckily,  it fit underneath my machine with no problems.


I added this orange patch, to cover the worn area, and to stop the zipper from going off of the track
The repaired Flyers Paris Traveler's Bag

I am so happy that the repairs went smoothly , and the bag is ready to be used again!

It made me happy to see a bag that I made was being used ....and that the person liked what I made for her!   This is a big reason that I love to sew.    (YOU, too... right?!)

I'm off to my sewing room!